How to Paint Kitchen Cabinets: 6 Simple Steps for a Fresh, Modern Look
If your kitchen feels outdated but you’re not ready for a full renovation, painting your kitchen cabinets is one of the most effective and budget-friendly upgrades you can do. With the right preparation and technique, you can completely transform your space in just a few days.
In this guide, you’ll learn how to paint kitchen cabinets in 6 practical steps that even beginners can follow. Whether your cabinets are wood, laminate, or previously painted, this method will help you achieve a smooth, long-lasting finish.
1. Planning Your Cabinet Painting Project

Before picking up a brush, good planning will save you time, money, and frustration. Start by deciding the final look you want for your kitchen.
Think about:
- Cabinet color (white, navy blue, sage green, charcoal, etc.)
- Finish type (matte, satin, semi-gloss, or gloss)
- Kitchen style (modern, farmhouse, classic, minimalist)
You should also estimate how long the project will take. Painting kitchen cabinets is not a one-day job. Depending on kitchen size, it may take 3–7 days, including drying time.
Gather your materials in advance:
- Screwdriver
- Painter’s tape
- Drop cloths or old sheets
- Sandpaper (120–220 grit)
- Degreaser or dish soap
- Primer (high-quality bonding primer)
- Cabinet paint (acrylic latex or oil-based)
- Paint brushes and foam rollers
- Clean microfiber cloths
Good preparation ensures a smooth workflow without interruptions once you start.
2. Removing Doors, Hardware, and Cleaning Thoroughly
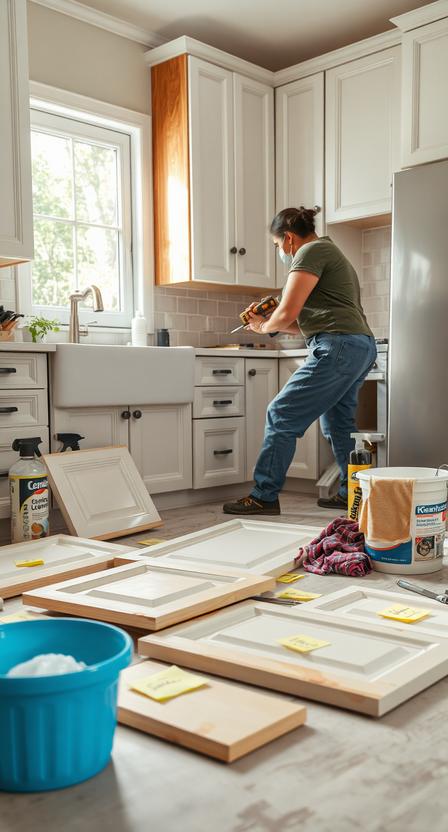
The second step is all about preparation. Removing cabinet doors and hardware makes painting much easier and gives a professional finish.
Start by:
- Unscrewing cabinet doors carefully
- Labeling each door and hinge location (use tape or sticky notes)
- Removing handles, knobs, and hinges
Once everything is disassembled, focus on deep cleaning. Kitchen cabinets often collect grease, oil, and dirt that can prevent paint from sticking properly.
Use a strong degreaser or a mixture of warm water and dish soap. Wipe every surface thoroughly, especially around handles and edges. Let everything dry completely before moving to the next step.
Skipping this step is one of the biggest reasons paint starts peeling later, so take your time here.
3. Sanding the Surface for Better Paint Adhesion
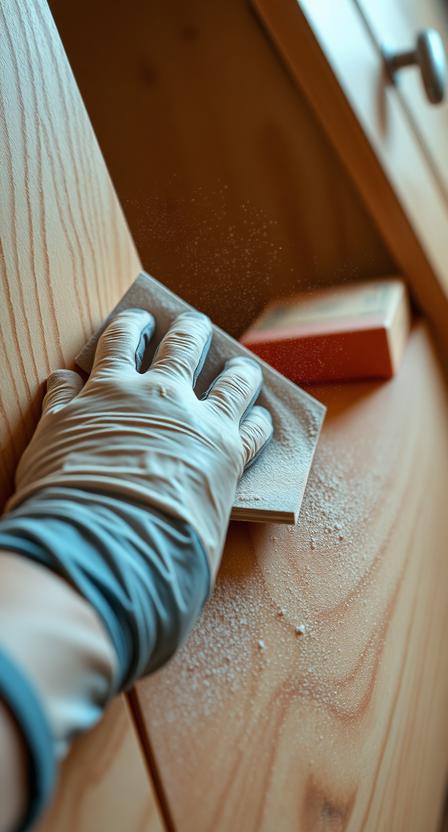
Sanding is the secret to a long-lasting, professional-looking cabinet finish. It helps remove the glossy layer and allows primer and paint to stick properly.
Here’s how to do it:
- Use 120–150 grit sandpaper for rough sanding
- Follow up with 220 grit for a smoother surface
- Sand all flat areas, corners, and edges evenly
If your cabinets are already painted, you don’t need to strip them completely—just dull the surface. If they are laminate, be extra gentle but ensure the surface is properly roughened for bonding.
After sanding, wipe all dust using a damp cloth or microfiber towel. Even small dust particles can ruin your final paint finish.
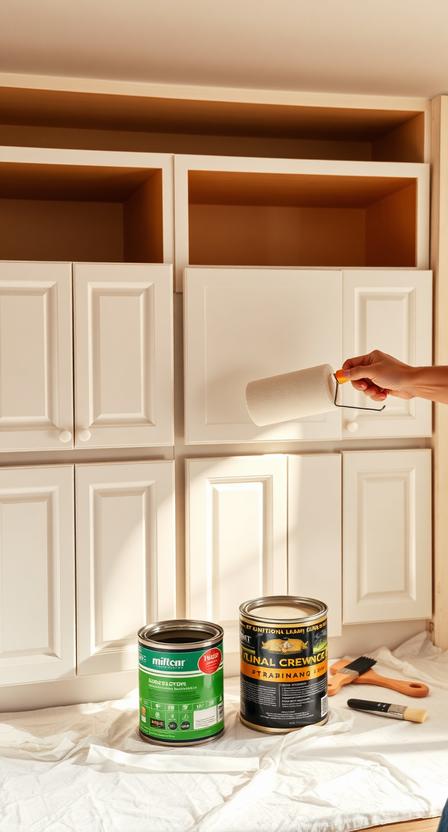
4. Applying a High-Quality Primer
Primer is a critical step that should never be skipped. It ensures better paint adhesion, prevents stains, and helps achieve a uniform color.
Choose the right primer:
- Oil-based primer for stained or heavily used cabinets
- Bonding primer for laminate or glossy surfaces
- Water-based primer for easier cleanup and low odor
Apply a thin, even coat using a foam roller for flat areas and a brush for corners and detailed edges. Avoid thick layers, as they can create drips or uneven texture.
Let the primer dry completely according to the manufacturer’s instructions—usually 4–8 hours, or overnight for best results.
If the surface still looks uneven, you can lightly sand again before painting.
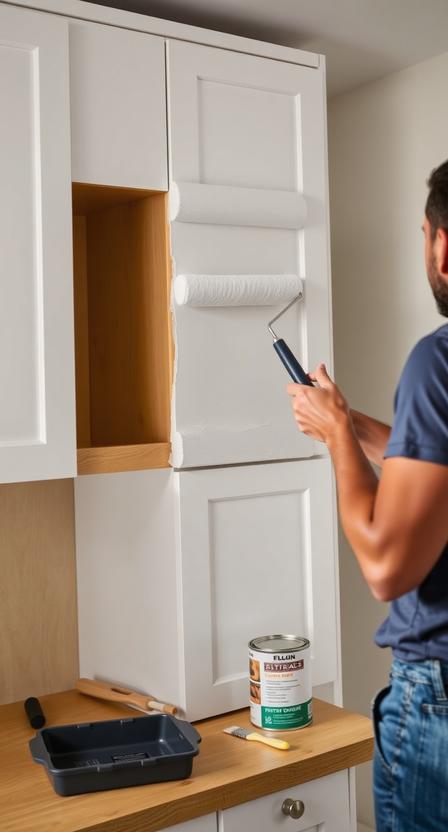
5. Painting the Cabinets with Care and Precision
Now comes the most exciting part—painting your cabinets. This is where your kitchen starts to transform.
Use high-quality cabinet paint designed for durability and washability. Semi-gloss and satin finishes are the most popular because they are easy to clean and resist moisture.
Follow this process:
- Start with the cabinet frames first
- Use a brush for corners and edges
- Use a foam roller for flat surfaces to avoid brush marks
- Apply thin coats instead of one thick layer
It’s better to apply 2–3 thin coats than one heavy coat. Allow each coat to dry completely before adding the next one (usually 4–6 hours).
Work slowly and carefully to avoid streaks or drips. Good lighting helps you spot uneven areas early.
6. Reassembling and Adding the Final Touches
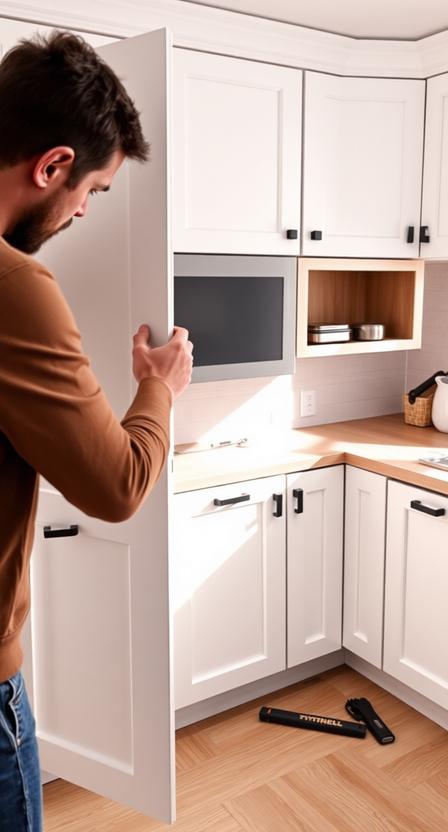
Once the paint is fully dry (wait at least 24–48 hours), it’s time to put everything back together.
Reassembly steps:
- Reattach cabinet doors carefully
- Install hinges, handles, and knobs
- Check alignment and adjust if needed
For an upgraded look, consider replacing old hardware with modern styles like matte black, brass, or brushed nickel. This small change can make your kitchen look brand new.
Finally, let your cabinets cure fully for about 5–7 days before heavy use. Even if they feel dry, the paint needs time to harden completely for maximum durability.
Final Thoughts
Painting kitchen cabinets is one of the most rewarding DIY home improvement projects. With proper preparation, patience, and the right materials, you can achieve a professional-quality finish without hiring an expensive contractor.
To recap the 6 essential steps:
- Plan your project carefully
- Remove doors and clean thoroughly
- Sand the surfaces
- Apply primer
- Paint with thin, even coats
- Reassemble and finish
A freshly painted kitchen can completely change the feel of your home—making it brighter, cleaner, and more modern without a full renovation.